Key Takeaways
✅ Quality vintage tools beat modern mass-produced alternatives – Look for heavy, well-built tools with maker’s marks
✅ Start with simple hand tools – Trowels and small implements are perfect for building restoration skills
✅ Basic supplies go a long way – White vinegar, baking soda, and steel wool handle most restoration projects
✅ Safety gear is non-negotiable – Always wear safety glasses and gloves during restoration work
✅ Original handles can often be saved – Sand and oil treatments work miracles on weathered wood
✅ Proper storage prevents re-rusting – Keep tools dry and off the ground to maintain your hard work
✅ Creative repurposing adds value – Broken tools can become planters, wall art, or unique garden features
✅ Regular maintenance extends tool life – Simple monthly care keeps restored tools functional for decades
You know that feeling when you’re wandering through a thrift store, and everyone else is looking at the vintage clothes while you’re drawn to that sad pile of rusty garden tools in the corner? Yeah, me too.
Most people see junk. I see potential goldmines.
Here’s the thing – those beat-up old tools were built when “they don’t make ’em like they used to” was actually true. With a little elbow grease and the right know-how, you can transform these forgotten treasures into garden workhorses that’ll outlast anything you can buy new today.
What I Look for When Tool Hunting
After years of bringing home both winners and duds, I’ve learned what separates the gems from the genuinely hopeless cases.
The Good Stuff Worth Your Time
Heavy is usually better. That hefty weight means quality materials – cast iron, forged steel, the works. If it feels substantial in your hands, it’s probably worth investigating.
Look for maker’s marks. Those old company stamps are like treasure maps. Names like Stanley, Craftsman (the old ones), or regional manufacturers often indicate tools built to last.
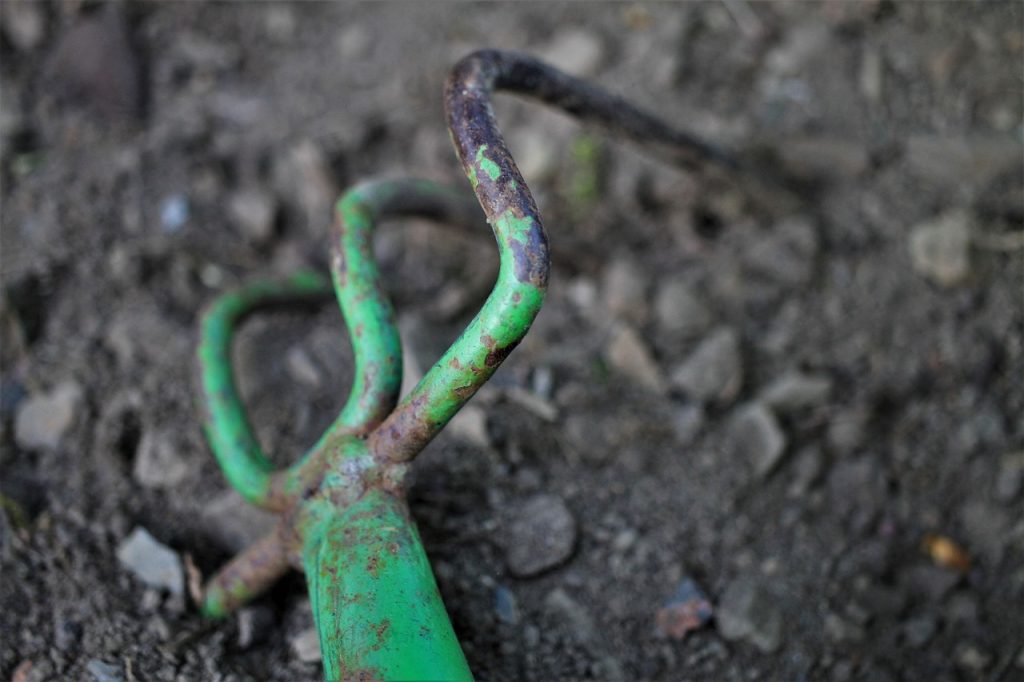
Check the bones. Sure, it’s rusty and the handle looks rough, but can you see the original shape? Are the working parts still there? That’s what matters.
What I Always Pass Up
Trust me, I’ve learned these lessons the hard way:
- Deep holes or pitting – If you can poke your finger through it, walk away
- Completely rotted handles – Unless you’re feeling really ambitious
- Bent or cracked metal – Some things just can’t be fixed
- Missing crucial parts – Like pruning shears with one blade
My Favorite Finds
Hand tools are perfect for beginners: Old trowels, hand forks, and small pruning tools are forgiving and quick to restore.
Long-handled tools make dramatic transformations: Nothing beats the satisfaction of bringing a rusty old rake back to life.
Specialty tools tell the best stories: Ever found an old bulb planter or asparagus knife? These unique pieces become conversation starters.
My Restoration Toolkit
The Chemical Brigade
I keep it simple with proven winners:
White vinegar – My go-to for light rust. Cheap, safe, and your kitchen probably has some right now.
Naval jelly – The heavy artillery for serious rust problems. Handle with respect and follow the directions.
Baking soda – Perfect for scrubbing and neutralizing acids. Plus, it won’t hurt you if you accidentally touch it.
The Mechanical Crew
Wire brushes in different stiffnesses – Like having the right golf club for each shot.
Steel wool variety pack – From gentle 0000 to aggressive grade 2.
Sandpaper collection – Start rough, finish smooth.
Safety First (And I Mean It)
Look, I get it. Safety gear isn’t glamorous. But trust me on this – you only need one piece of metal flying into your eye to become a true believer in safety glasses.
Essential gear:
- Safety glasses (seriously, every single time)
- Nitrile gloves (your hands will thank you)
- Dust mask for grinding work
- Good ventilation or work outside
How I Actually Do the Work
Step 1: The Reality Check
I always start by taking honest before photos. Sometimes what looked promising in the store turns out to be more challenging than expected. That’s okay – it’s all part of the learning process.
Give everything a good scrub with soap and water first. You’d be amazed how much “rust” is actually just decades of dirt.
Step 2: Rust Battle Strategy
For everyday rust (my most common scenario): I make a thick paste with baking soda and water, slather it on, wait 15 minutes, then scrub with steel wool. Rinse, dry completely, and assess the damage.
When things get serious: Naval jelly time. I apply it exactly as directed (no shortcuts here), let it do its magic, then scrub away the dissolved rust. Always neutralize with baking soda afterward.
My secret weapon: Overnight vinegar soaks work miracles on smaller tools. I just drop them in a container, cover with white vinegar, and let chemistry do the work.
Step 3: Handle Heroes
Saving original handles: If the wood is solid, I sand progressively from coarse to fine grit. Any cracks get wood filler, then I apply boiled linseed oil in thin coats. The transformation is incredible.
When replacement makes sense: Sometimes you’ve got to know when to fold. Hardware stores carry replacement handles, and honestly, a new handle on a vintage tool head often looks fantastic.
Step 4: Sharp Ideas
Here’s something I learned the hard way – maintain the original edge geometry. These old tools were designed by people who knew what they were doing.
For cutting tools, I file to establish the angle, then use progressively finer stones. For digging tools, I focus on removing nicks and creating a clean edge rather than making them razor-sharp.
Step 5: The Final Touch
Protection that lasts: I use rust-preventive primer followed by quality enamel paint. Traditional colors like green, red, or black look authentic and hide minor imperfections.
Handle finishing: Multiple thin coats of boiled linseed oil give that rich, traditional look. For tools that see heavy use, I might use polyurethane for extra durability.
Fun Ways to Use Your Restored Treasures
Beyond Basic Gardening
Some of my favorite restored tools never make it back to traditional garden duty:
Kitchen helpers: Small hand tools make amazing serving pieces for rustic entertaining.
Wall art: I’ve framed several beautiful old tools – they’re perfect for garden sheds or covered patios.
Unique gifts: A restored vintage trowel with someone’s initials scratched into the handle? That’s a gardener’s treasure.
Creative Garden Solutions
Repurposed functionality:
- Old rake heads become perfect bean pole supports
- Broken shovel handles make excellent plant stakes
- Tool heads without handles work great as hanging storage
Decorative elements:
- Vintage wheelbarrows as planters (drill drainage holes)
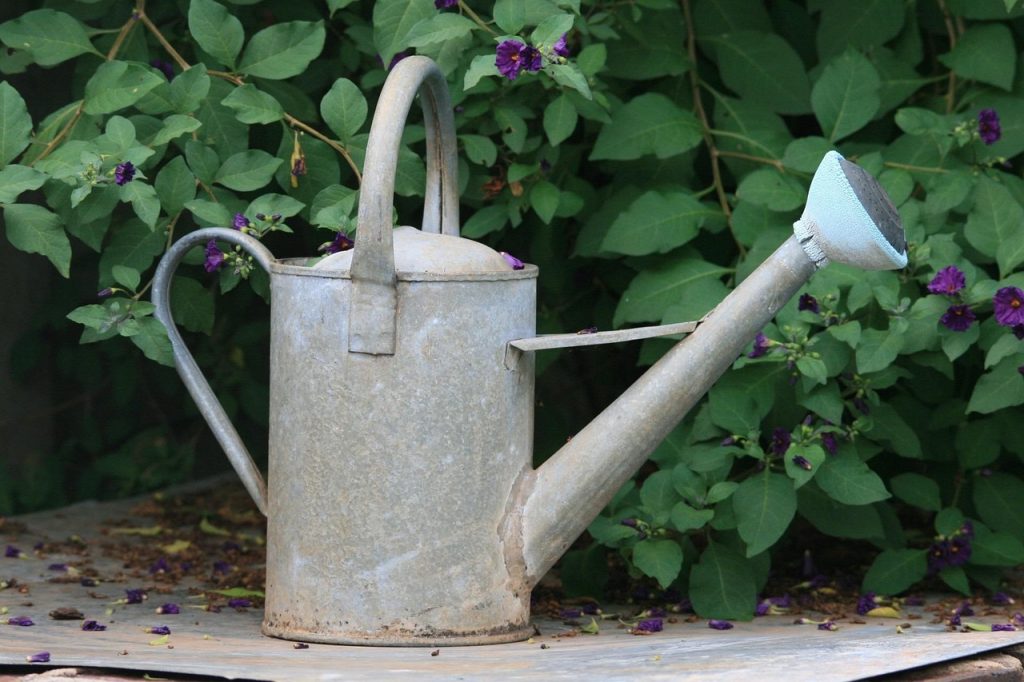
- Old watering cans as unique flower displays
- Tool collections as garden shed décor
Keeping Your Hard Work Looking Good
Storage Wisdom I’ve Learned
Keep them dry: I learned this lesson after watching beautiful restoration work develop new rust in a damp basement.
Hang when possible: Ground contact is the enemy of longevity.
Organization pays off: When tools have designated spots, they’re more likely to get proper care.
My Maintenance Routine
After each use: Quick wipe-down and check for new rust spots.
Monthly: Light oil on moving parts and handles.
Seasonally: Deeper inspection and touch-up work as needed.
Annually: Full restoration refresh if required.
Why I Keep Doing This
Sure, I could buy new tools. But there’s something special about using a restored 1950s trowel that’s built better than anything in today’s garden centers. Plus, every restored tool represents:
- Money saved (often significant amounts)
- Waste prevented (these tools were headed for landfills)
- Skills developed (you’ll be amazed what you can fix)
- Stories preserved (many tools come with fascinating histories)
Ready to Start Your Own Treasure Hunt?
Start small – grab a rusty hand tool next time you’re thrifting. The worst that happens? You’re out a few dollars and you’ve learned something new.
The best that happens? You’ve discovered a hobby that combines treasure hunting, practical skills, and environmental consciousness into one incredibly satisfying package.
Your garden deserves tools with character. Your wallet deserves the savings. And honestly? You deserve the satisfaction of bringing something beautiful back to life.
So next time you’re at a thrift store and everyone else is fighting over the vintage band t-shirts, head to that neglected corner where the rusty tools wait. Your future self (and your garden) will thank you.
Frequently Asked Questions
Q: How much should I expect to spend on a restoration project?
A: For most hand tools, you’re looking at $5-15 in supplies plus your time. A basic restoration kit (vinegar, steel wool, sandpaper, primer, paint) costs around $30 and handles multiple projects. Compare that to $25-50 for a new quality hand tool, and the savings add up quickly.
Q: How long does a typical restoration take?
A: Hand tools usually take 2-4 hours spread over a weekend (accounting for drying time). Long-handled tools might need 4-6 hours. The key is patience – rushing the process leads to poor results.
Q: Is naval jelly safe to use at home?
A: Naval jelly contains phosphoric acid and requires proper safety precautions. Always wear gloves and eye protection, work in ventilated areas, and follow manufacturer instructions exactly. For lighter rust, stick with vinegar and elbow grease.
Q: What’s the best way to remove old paint from tools?
A: Start with a paint scraper for loose paint, then use coarse sandpaper or a wire brush. For stubborn paint, chemical paint strippers work well, but require proper ventilation and safety gear. Sometimes it’s easier to just sand and prime right over stable old paint.
Q: How do I know if a wooden handle can be saved?
A: Solid wood with surface damage can usually be restored. If you can push your fingernail into the wood easily, or if large chunks are missing, replacement is probably better. Look for checks (small cracks) versus actual splits that go through the handle.
Q: Should I restore the original finish or modernize it?
A: This depends on your goals. For functional tools, modern protective finishes often perform better. For display pieces or tools with historical value, try to match original colors and finishes. When in doubt, research the manufacturer’s original specifications.
Q: Can I sell restored tools, and what might they be worth?
A: Absolutely! Well-restored vintage tools often sell for $20-100+ depending on rarity and quality. Popular brands, unusual tools, and excellent restoration work command premium prices. Check sold listings on auction sites to gauge market value.
Q: What’s the biggest mistake beginners make?
A: Trying to tackle too much rust with too little patience. Heavy rust removal takes time and multiple treatments. Many beginners also skip the primer step, leading to new rust appearing within months of completing their restoration.
Q: Are there any tools I should avoid attempting to restore?
A: Skip anything with cracked metal, deep pitting, or missing essential components. Also be cautious with spring-loaded tools (like old pruning shears) unless you’re comfortable with mechanical repairs. Power tools from before modern safety standards are generally not worth restoring.
Q: How do I prevent my restored tools from rusting again?
A: Proper storage is crucial – keep tools dry and well-ventilated. Wipe tools clean and dry after each use, apply light oil to metal surfaces monthly, and store them off the ground. A thin coat of paste wax provides excellent protection for frequently used tools.